Yoga Corner: Asana + Variations
The poses demonstrated here by Donna are intended to show the classical version of the pose, as well as the variations we use at United Yoga Montreal. Variations are introduced for a variety of reasons and purposes to aid in deepening our student’s understanding of the pose.
Upavistha Konasana
Upavistha, means “seated” or “sitting,” kona means “angle’’ and asana means “posture”. Upavistha Konasana is a seated pose that lengthens the inner thighs and back of the legs, releases the groins, strengthens the spine and stimulates the abdominal organs.


Rounding at the lumbar spine when seated, can be caused by tight hamstrings and adductors. If this is the case for you or your students, the first two variations below address this common limitation.

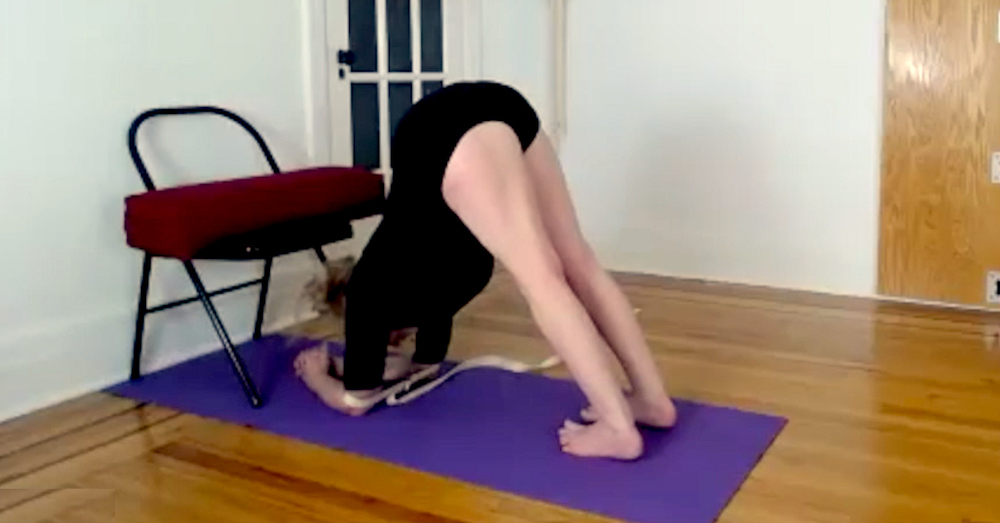
Variation 1– Facing a wall, sit with the front tip of your sit bones on the front edge of a chair in order to find your neutral lumbar curve. Adjust the distance of the chair and wall to help straighten your legs. Placing hands on the side of the chair seat and the big toe mounds firmly into the wall creates stability and length in the spine and legs.

Variation 2– If Variation 1 is easily held, move on to this supported pose. Here, the front tip of the sit bones are placed on a bolster, the upper back and back of head are contacting the wall. Arms are lifted and holding ropes to create length in the spine and sides of the torso. Because of the height of the pelvis, knees are supported by blankets to avoid hyper-extension of the knee joint.

Hypermobility in the back and hips can cause compression in the lumbar spine. This common body type requires strengthening. Variation 3 addresses this.

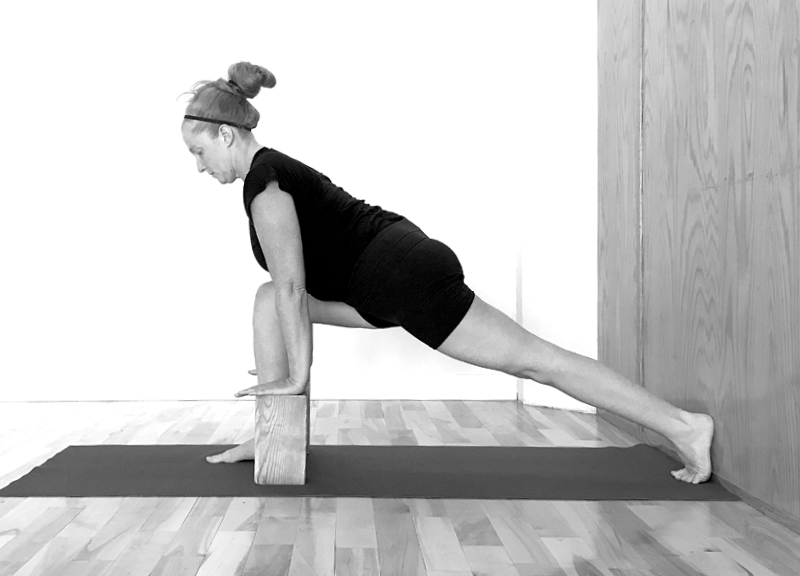
Variation 3– Sitting with legs apart and on the front tip of the sit bones, place a block at the mid part of the sacrum, and another block at the mid part of the shoulder blades. Keeping the blocks stable and evenly pressed into the wall, raise the arms overhead. This work helps strengthen the back muscles around the spine and creates stability in an area that has been weakened by hyper-flexibility.

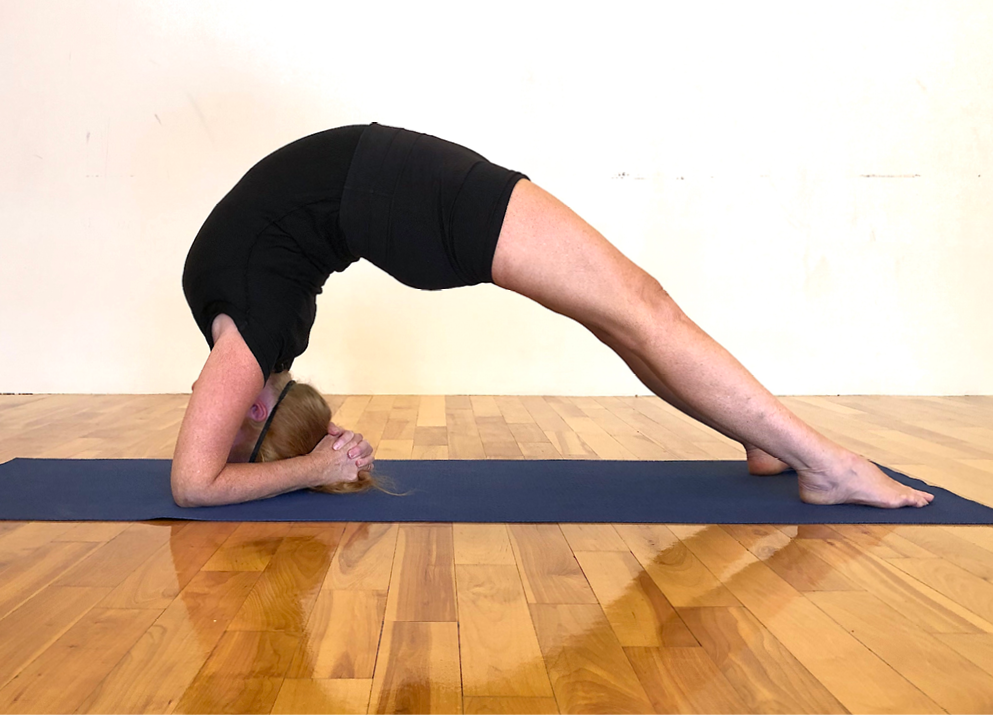
Variation 4– Lying on your back, with your legs at the wall, tie a very long, or double belt hooked around the outer feet.
For a rounded lumbar spine: Move the pelvis away from the wall, and put a bolster or block between your pelvis and the wall, so a neutral lumbar curve is achieved.
If you’re able to bring the sit bones and back of the legs fully to the wall (regular, or hyper-mobile bodies) press the sit bones and top of the thighs into the wall to ground the pelvis and femurs. This will help bring more breath to the pelvis and abdominal area.
This variation is very supportive with the back resting on the floor, and adductors supported by the belt. By not over-stretching the inner leg, the groins can release and space is possible in the sacrum and abdomen.


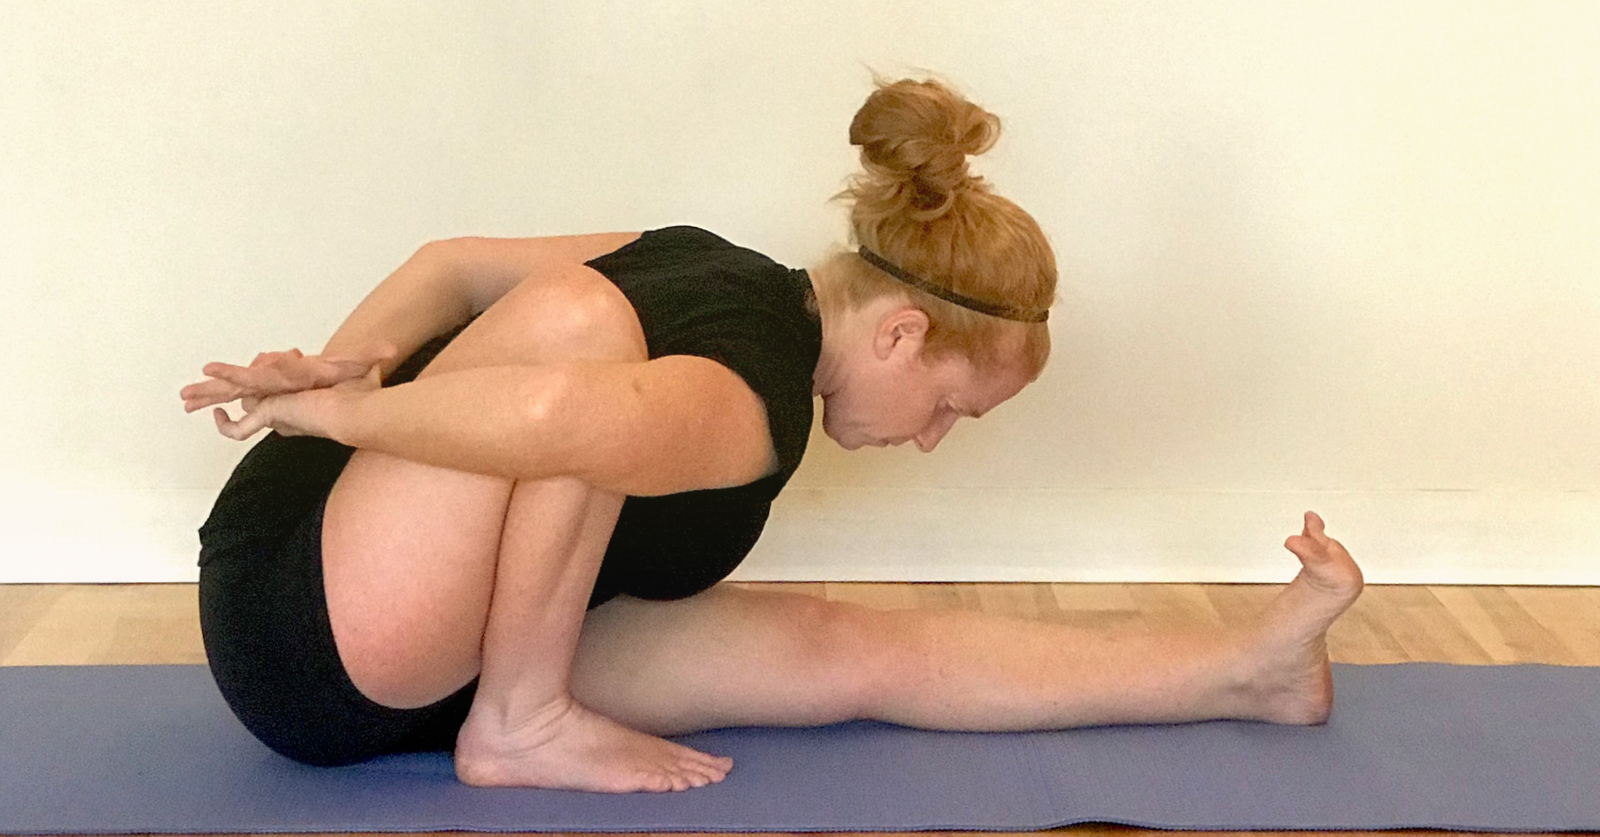
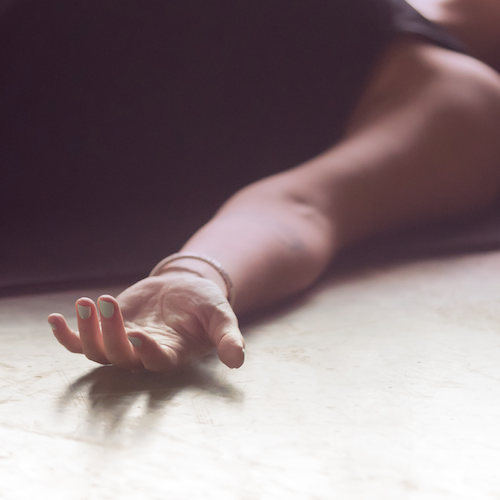
Variation 5– Try this variation when you can sit comfortably on the floor with a neutral spine. Make a loop with 1 belt around each hip and the center of the opposite heel. Be sure to tighten the belt with the buckle pulling FROM the hip TOWARD the foot. (See detail photo) When the feet are pressed from the back of the pelvis into the belts, there should be a sensation of the outer hips moving toward the opposite, inner thigh. This action helps to understand how the outer hips can move toward each other, creating stability in the pelvis. Feedback from the belt helps to understand lengthening the legs from the back of the pelvis, achieving length and stability at the same time.
*see detail photo
Prepared and demonstrated by Donna Read
Donna would like to express gratitude to her teacher, Hart Lazer and to his teachers for their inspiration and wisdom.